Implementing Three-Input Interlock Logic for Pump Control in TIA Portal
In industrial automation, ensuring operational safety and process integrity is paramount. One of the most common requirements in factory automation is the creation of an interlock system. This prevents multiple commands from executing simultaneously, which could otherwise lead to mechanical failure or electrical overloads.
Using Siemens TIA Portal, engineers can implement robust pump logic that combines latching and interlocking. This guide breaks down how to configure a three-input system where only one operational mode can be active at a time.
Establishing the Master System Standby Logic
The first step in any reliable control system is defining a master enable bit. In Network 1, we create the SYSTEM_ON (M0.0) memory bit. This bit acts as a "Gatekeeper" for the entire process. By using a Latching (Self-Holding) circuit, the system remains in standby mode once the START button (I0.0) is pulsed.
Conversely, the STOP button (I0.1) serves as a global reset. If the stop command is triggered, the SYSTEM_ON bit drops to a LOW state, immediately disabling all subsequent networks. This hierarchical structure ensures that no pump action can occur unless the master system is energized.
Programming the Interlocked RUN-1 Command
Network 2 focuses on the first operational mode, assigned to LAMP_1 (Q0.1). For the pump to activate via this branch, the SYSTEM_ON bit must be HIGH and the RUN_1 (I0.2) button must be pressed.
To achieve the interlock, we place Normally Closed (NC) contacts of the other two buttons (RUN_2 and RUN_3) in series. Consequently, if an operator attempts to press RUN_1 while RUN_2 is already active, the logic path remains broken. This "mutual exclusion" is a cornerstone of safe PLC programming in DCS and localized control environments.
Redundancy and Latching for RUN-2 and RUN-3
Networks 3 and 4 replicate the interlock logic for the remaining two inputs. Each output (LAMP_2 and LAMP_3) utilizes its own latching contact to maintain operation after the physical button is released.
Moreover, these networks are cross-referenced. For example, in the RUN_2 logic, the physical inputs for RUN_1 and RUN_3 act as breakers. This design ensures that the system is "last-press dominant" or "exclusive-priority," depending on your specific wiring. In this TIA Portal example, the active state must be cleared by another input or the master STOP command.
Aggregating Logic for the Final Pump Output
The final stage, Network 5, manages the actual hardware output for the PUMP (Q0.0). Instead of linking the physical buttons directly to the pump, we use the internal memory bits or lamp outputs from the previous networks.
By placing LAMP_1, LAMP_2, and LAMP_3 in a parallel (OR) configuration, the pump energizes if any single interlock circuit is satisfied. This abstraction layer protects the hardware, as the logic prevents the PLC from ever sending conflicting signals to the motor starter.
Author's Insight: The Value of Software Interlocking
From an engineering perspective, hardware interlocks (using physical NC contacts on contactors) are often preferred for safety-critical E-Stop circuits. However, software interlocking within TIA Portal offers unparalleled flexibility for operational logic. It allows for complex "First-Out" indication, where the system can identify exactly which button was pressed first. I recommend always including a small "debounce" timer in these networks to prevent flickering in environments with high electromagnetic interference (EMI).
Practical Application Scenarios
-
Chemical Processing: Using three different flow rates (Low, Medium, High) where only one pump speed can be selected at a time.
-
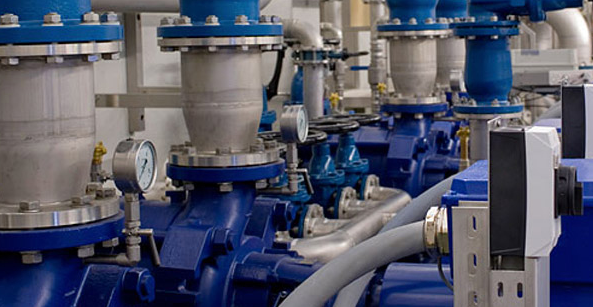
Water Treatment: Alternating between three different intake sources to prevent suction cavitation.
-
Conveyor Systems: Selecting between three different destination paths in a sorting facility.


