SIL 3 Proof Test Scheduling and PFDavg Management for HIMA HIMatrix and ICS Triplex TMR
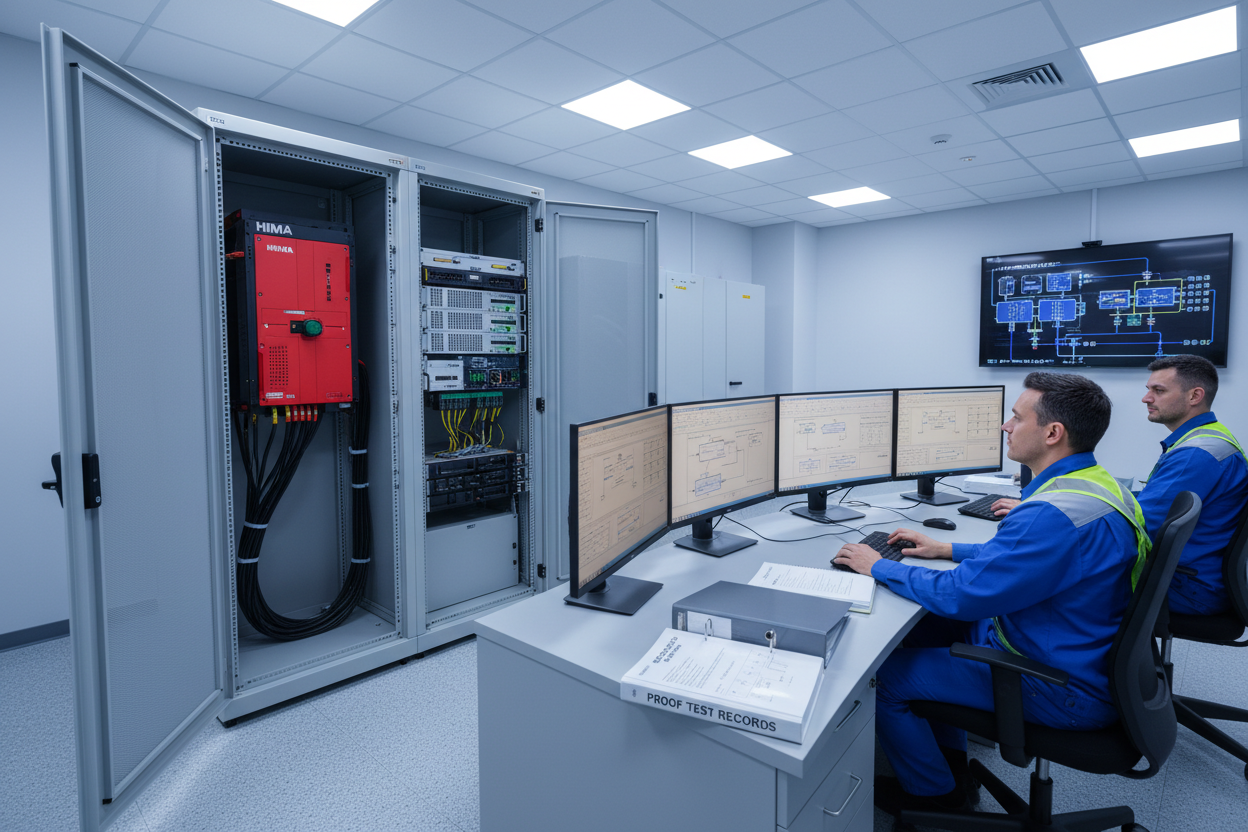
A practical IEC 61511 guide to scheduling SIL 3 proof tests, calculating PFDavg for HIMA HIMatrix F60 and ICS Triplex TMR architectures, applying partial proof test credit, and maintaining compliance records across multi-year plant turnaround cycles.
SIL 3 Requirements and PFDavg Target Range
IEC 61511 Table 3 defines SIL 3 as a PFDavg range of 10⁻⁴ to 10⁻³. This is one order of magnitude more demanding than SIL 2. Achieving SIL 3 requires either a highly redundant architecture or a very short proof test interval. HIMA HIMatrix F60 with 1oo2D architecture achieves SIL 3 only when the proof test interval stays at or below 1 year and diagnostic coverage exceeds 99%.
ICS Triplex TMR achieves SIL 3 through its 2oo3 hardware voting with full online diagnostics. The Triplex TMR diagnostic coverage is rated at 99.7% for internal faults. Combined with a 2-year proof test interval and a dangerous failure rate (λDU) of 1.2×10⁻⁷/h per channel, the PFDavg calculates to approximately 5.3×10⁻⁴. This satisfies the SIL 3 upper limit of 10⁻³.
However, PFDavg is not a fixed value. It increases over time as the system ages. Monitor the SIL verification calculation annually. Replace aging components before λDU creep pushes PFDavg above the SIL 3 upper bound.
Proof Test Interval Calculation for Mixed Architectures
Many plants run a combination of HIMA HIMatrix F60 for initiators and ICS Triplex TMR for the final element. In this case, calculate PFDavg for each subsystem separately. Then sum them. The total SIF PFDavg must remain below 10⁻³.
Use the IEC 61511-1 Annex K formula for a 1oo2D architecture:
PFDavg (1oo2D) = (λDU × Ti)² / 3 + λDU × (1 – DC) × Ti / 2
For HIMA HIMatrix F60 with λDU = 3×10⁻⁷/h per channel, Ti = 8,760 h (1 year), and DC = 0.99:
PFDavg = (3×10⁻⁷ × 8,760)² / 3 + 3×10⁻⁷ × 0.01 × 8,760 / 2 = 2.3×10⁻⁶ + 1.3×10⁻⁵ = 1.5×10⁻⁵
This leaves a large PFDavg budget for the ICS Triplex TMR final element subsystem. However, never allow any single subsystem to consume more than 50% of the total SIL 3 PFDavg budget. This approach provides margin for future changes without invalidating the SIL verification.
Partial Proof Test Credit and Diagnostic Coverage Impact
A full proof test verifies all dangerous failure modes. A partial proof test verifies only a subset. IEC 61511 Clause 16.2.6 allows partial proof test credit when the partial test fraction (PTF) is documented. HIMA SILworx defines PTF per test procedure. A standard channel diagnostics check during operation counts as PTF = 0.3 to 0.5, depending on the failure mode coverage.
For ICS Triplex TMR, the online self-test covers approximately 85% of dangerous failure modes. This means the annual proof test only needs to address the remaining 15%. This reduces proof test duration from 8 hours to approximately 1.5 hours per SIF. Apply this credit in the SIL verification tool by entering PTF = 0.85 for the online diagnostics contribution and PTF = 0.15 for the manual proof test complement.
Moreover, diagnostic coverage credit requires evidence. HIMA HIMatrix SILworx logs diagnostic test results in the internal event log. Export this log monthly and archive it in the CMMS system. ICS Triplex controller diagnostic status is available via Modbus TCP register 41001 (bit-mapped, 16 fault categories). Log this register daily via the OPC DA historian. This archived data serves as IEC 61511 Clause 16.2.5 proof test documentation evidence during audits.
Five-Step Proof Test Record Documentation
IEC 61511 Clause 16.3 requires proof test records to include specific data fields. Missing fields invalidate the test credit. Follow this documentation procedure for every SIL 3 SIF proof test:
- Step 1: Record the as-found state before any test intervention. For each HIMA HIMatrix F60 channel, note the LED status (green/amber/red) and the SILworx diagnostic summary byte. For each ICS Triplex TMR output, note the relay state and Modbus register 41001 value.
- Step 2: Execute the test sequence per the approved proof test procedure. Record the time of each step with a synchronized clock. Use the plant NTP reference (stratum 1) for all timestamps. Do not use PC local time — clock drift exceeds the 1 s resolution required for SIF response time verification.
- Step 3: Record the measured response time from input signal injection to final element activation. Compare against the SIF response time requirement in the safety requirements specification (SRS). Acceptable tolerance is ±10% of the required response time.
- Step 4: Record the as-left state after test completion. Confirm both HIMA and ICS Triplex systems are restored to normal operating mode. Verify SILworx shows no latched diagnostic faults. Confirm Triplex TMR Modbus register 41001 reads 0x0000 (no active faults).
- Step 5: Update the SIL verification calculation with the new proof test date. Recalculate PFDavg for the next proof test interval. If PFDavg approaches within 20% of the SIL 3 upper limit, flag the SIF for early re-testing or architecture review. Archive the completed test record in the CMMS with electronic signature per IEC 62443-2-1 record integrity requirements.
Conclusion and Action Advice
SIL 3 compliance for HIMA HIMatrix and ICS Triplex TMR systems depends on rigorous proof test scheduling and accurate PFDavg tracking. Calculate PFDavg for each subsystem separately. Keep individual subsystem contributions below 50% of the total SIL 3 budget. Apply partial proof test credit only when diagnostic coverage evidence is archived in the CMMS. Document every as-found and as-left state with NTP-synchronized timestamps. Update the SIL verification annually. Flag any SIF where PFDavg approaches 80% of the SIL 3 upper limit. These practices protect SIL 3 integrity throughout the entire plant lifecycle.
Author: Chen Hao is an industrial automation engineer with over 10 years of experience in PLC, DCS, and control systems.


